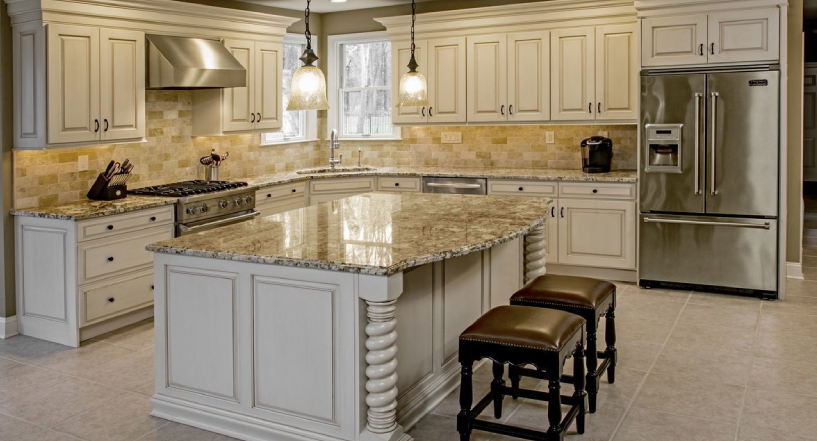
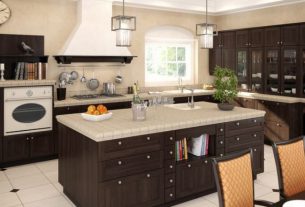
You know that the kitchen feels too dark and dingy to work comfortably anymore. It is no more the light and airy room that use to bring happiness and joy to cooking. To bring a new breath of life to the kitchen, we bring you some excellent kitchen cabinet refacing ideas. Most often than not it is the cabinets that make the area look cave-like. It is because old cabinets or dark cabinets tend to absorb all light. Hence, a simple makeover to the cabinets can significantly impact the entire look of the kitchen.
The first idea is to repaint the cabinets a bright, cheery colour. Yes, one can completely replace the cabinets with new ones, but why choose such an expensive home renovation project when there is a cheaper option. If the frame and the doors of all your kitchen cabinets are sound and secure structure wise, it is advised to renew them with a coat of paint. To do so, first clean them thoroughly, sand them and then paint them. Use strong cleaner and good sandpaper. For the paint colour think of a pastel shade or bright hue.
All it will take is less than a weekend and some elbow grease to transform your kitchen cabinets from dreary to sunny. This would be the least costly method of renovating a kitchen. The next idea to refacing is stripping the cabinets down wholly and then restaining them. This project requires a lot of manual labour. One will need to entirely remove the stain or veneer on the existing cabinets, then sand them down so that the bare wood is visible and then either apply a stain or paint them. This option becomes an excellent choice for people who do not want a stick-on veneer finish.
The last idea when it comes to refacing kitchen cabinet is applying self-stick plywood. This neither a very costly method nor very labour- focused. To reface kitchen cabinet follow these steps:
• Remove old veneer by cleaning and sanding the all visible surfaces.
• Cut the right pieces of chosen plywood and then apply them with adhesive.
• To make the plywood more secure one can use finish nails. Be sure to sink the head of the nail in and then use a wood filler to make the gaps invisible.
• Now pick the veneer you have chosen, cut it to precise measurements while keeping a buffer of half an inch in breadth and 2 inches in length. Use a utility knife that has a straightedge to cut the veneer strips. Always make the cut so that the wood grain is lengthwise.
• Put the veneer strip on the cabinet face. Make sure it is appropriately aligned and then slowly remove the adhesive strip from the back. It is essential to move gradually because readjusting the veneer once it is stuck can be painful.
• To smooth out the veneer use any flat hard object like a wood block. Move it over the veneer strip to get rid of any bubbles.